End-to-end tutorial
This end-to-end tutorial shows you how to complete the tasks mostly commonly performed with Izuma Edge:
Prerequisite
A Izuma Edge enabled target. If this is your first time using Izuma Edge, we recommend you start with Try Izuma Edge.
Container management
Note: Contact us to request we enable Kubernetes-as-a-Service (KaaS) features in your Izuma account. By default, deploying containerized applications isn't enabled.
Follow the deploying guide and complete the following steps:
- Create an access key.
- Create a Kubeconfig.
- List the nodes.
You can learn more about container orchestration in the container orchestration documentation.
After you've configured your developer work station and it can list the available nodes and gateways, follow the below instructions to deploy the container on the gateway.
1. Deploy container
Create a Docker image of Tetris®, and deploy that in a container on the gateway.
-
Build a Tetris® Docker image. Using the Terminal in Izuma Portal, run:
mkdir -p /work/edge
cd /work/edge
git clone https://github.com/uzyexe/javascript-tetris.git
cd javascript-tetris
docker build -t tetris:latest .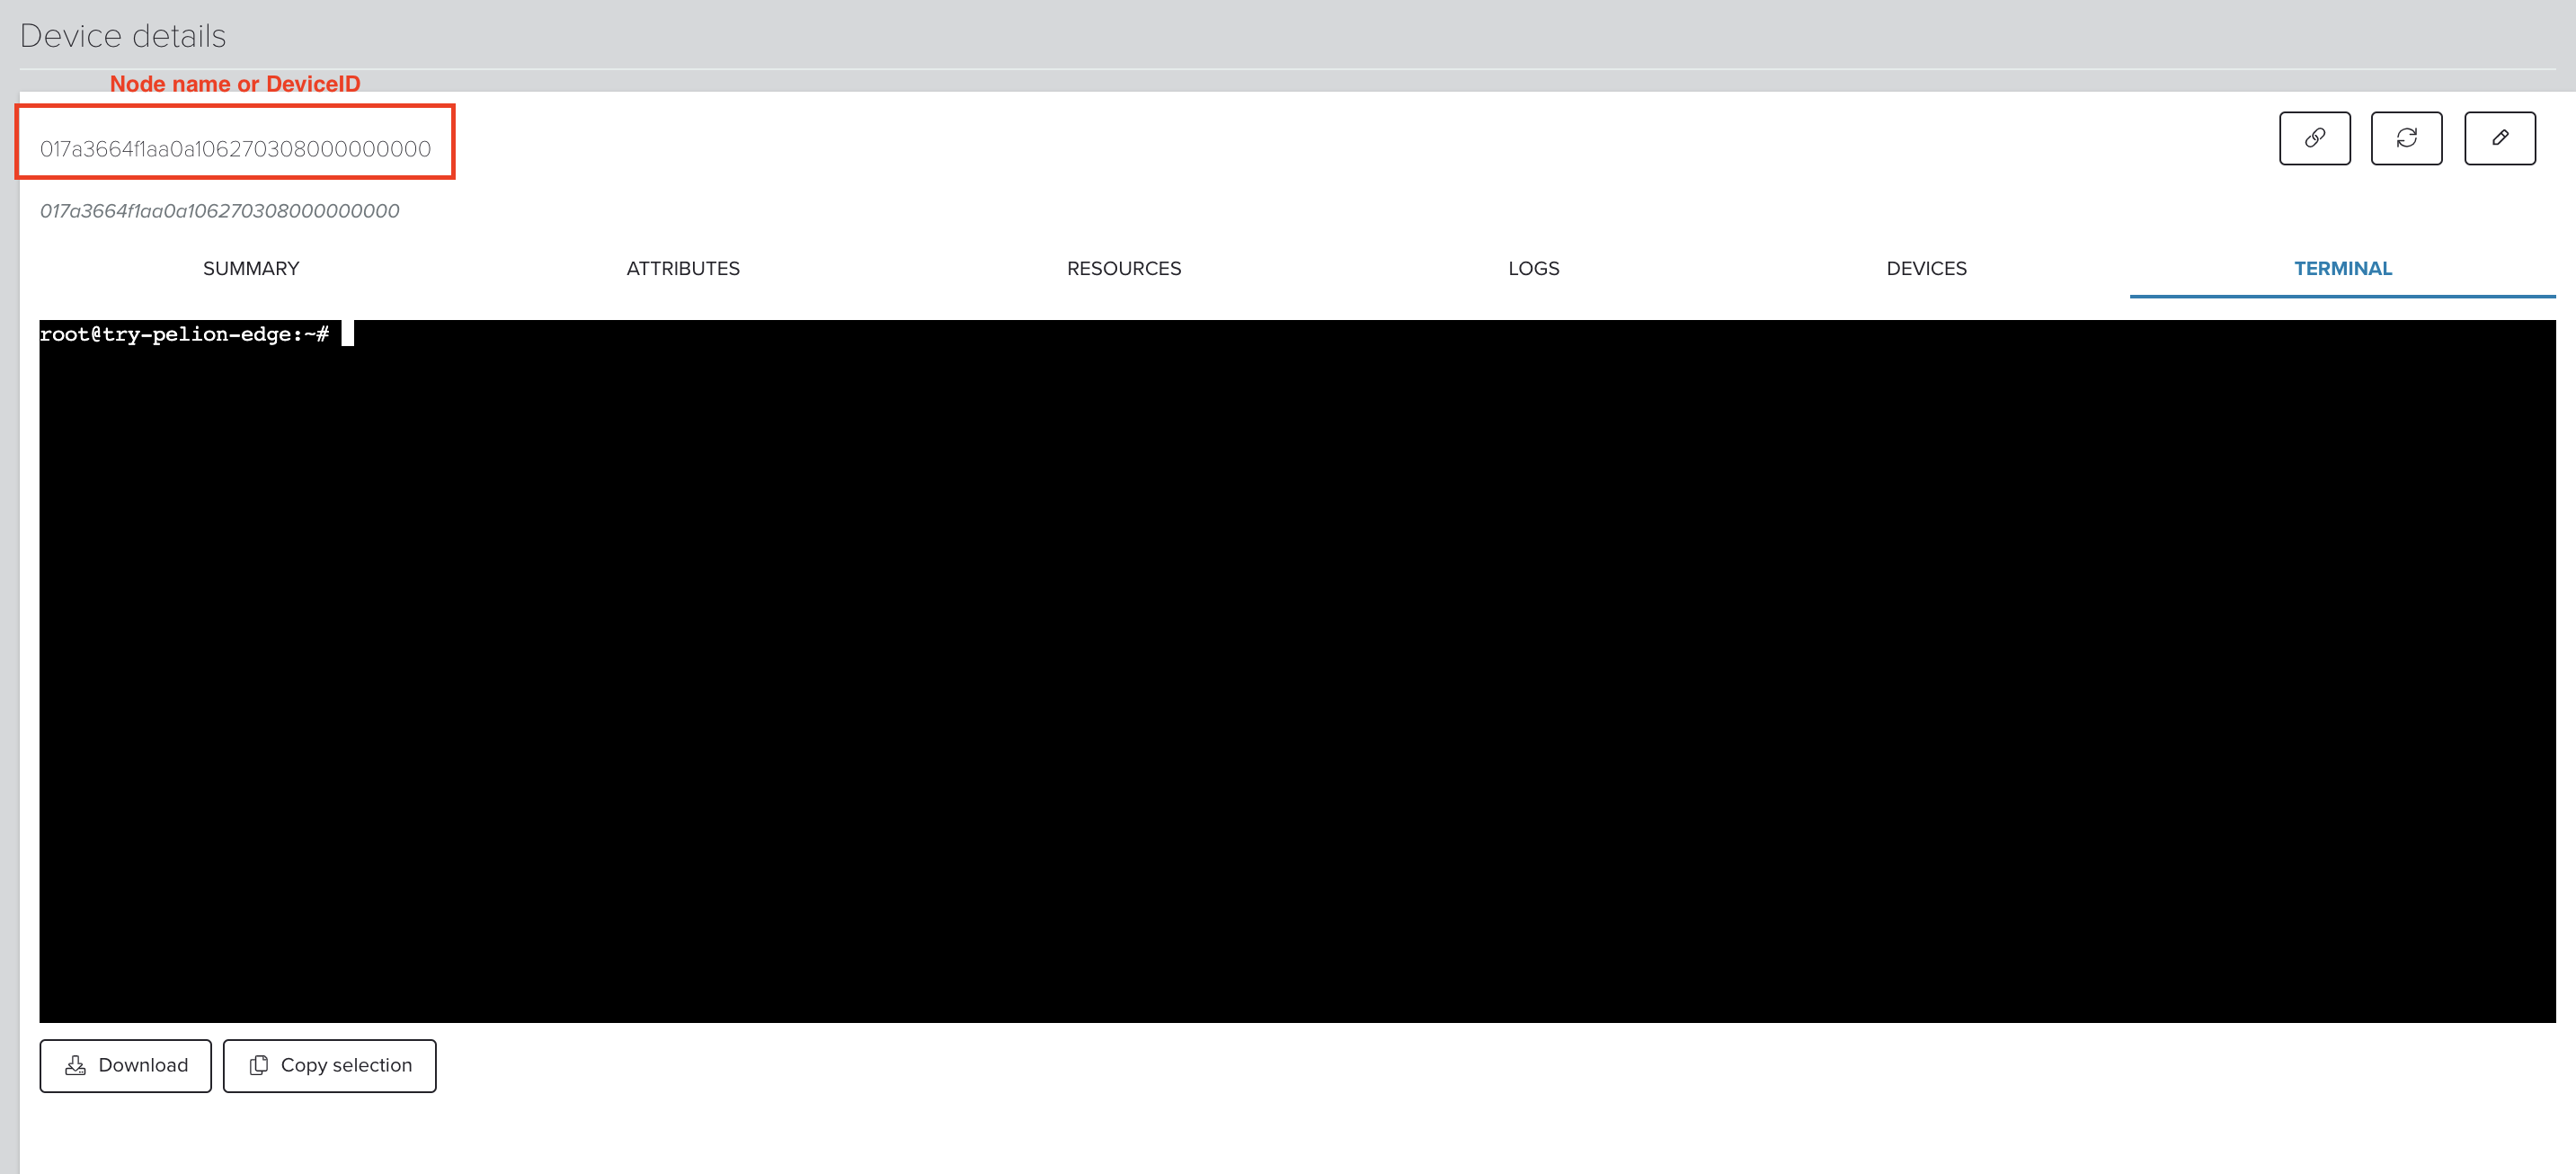
-
On your developer work station, create
gameboy-pod.yamlfile. Make sure you replacenodeNameYOUR-NODE-ID-HERE with your node's ID.apiVersion: v1 kind: Pod metadata: name: gameboy spec: automountServiceAccountToken: false hostname: localhost nodeName: YOUR-NODE-ID-HERE containers: - name: gameboy image: tetris:latest imagePullPolicy: Never ports: - containerPort: 80 hostPort: 80 -
Deploy the Pod:
kubectl create -f gameboy-pod.yaml -
View the Pod status:
kubectl describe pod gameboy -
View logs:
kubectl logs -f gameboy
2. Edge direct connect (tunneling)
Using Izuma Proxy Client, play Tetris® directly on your developer work station with container running on your remote gateway:
-
Download and install proxy-client on your developer work station, using the tunneling documentation.
-
Create a new Access Key or use the same from the above kubeconfig file.
-
Run the command. Replace
nodeNameYOUR-NODE-ID-HERE with your node's ID and the above access key with YOUR-ACCESS-KEY../pelion-direct-connect-client -listen-uri=127.0.0.1:3131 -cloud-uri=wss://api.us-east-1.mbedcloud.com/v3/devices/YOUR-NODE-ID-HERE/services/localhost:80/connection -api-key=YOUR-ACCESS-KEY -
Play Tetris® in your local browser - http://localhost:3131

3. Upgrade the container
To demonstrate the upgrade feature, we will swap the Tetris® container with PAC-MAN™.
-
Build PAC-MAN™ Docker image. Using the Terminal in Izuma Portal, run:
mkdir -p /work/edge cd /work/edge git clone https://github.com/uzyexe/pacman.git cd pacman docker build -t pacman:latest . -
Update
gameboy-pod.yamlfile and change the image from Tetris® to PAC-MAN™. ReplacenodeNameYOUR-NODE-ID-HERE with your node's ID.apiVersion: v1 kind: Pod metadata: name: gameboy spec: automountServiceAccountToken: false hostname: gameboy nodeName: YOUR-NODE-ID-HERE containers: - name: gameboy image: pacman:latest imagePullPolicy: Never ports: - containerPort: 80 hostPort: 80 -
Force replace, delete and then re-create the container.
kubectl replace --force -f gameboy-pod.yaml -
View the Pod status:
kubectl describe pod gameboy -
Refresh your local browser and now play PAC-MAN™ - http://localhost:3131
Gateway and IoT endpoint management
-
Build a Docker image running Protocol translation (PT) example application, which creates three virtual devices connected to the gateway.
Using the terminal in Izuma Device Management Portal, run:
mkdir -p /work/edge
cd /work/edge
git clone https://github.com/PelionIoT/mbed-edge-examples
cd mbed-edge-examples
git submodule update --init --recursive
docker build -t pt-example:latest -f ./Dockerfile.pt-example .
You can learn more about protocol translation and other JSON-RPC APIs available locally on the gateway from the protocol translation documentation.
-
Create
pt-example-pod.yamlon your developer work station. To allow the container to interface with local Device Management Bus, mount the/tmpdir on the container. ReplacenodeNameYOUR-NODE-ID-HERE with your node's ID.apiVersion: v1 kind: Pod metadata: name: pt-example spec: automountServiceAccountToken: false hostname: localhost nodeName: YOUR-NODE-ID-HERE containers: - name: pt-example image: pt-example:latest imagePullPolicy: Never volumeMounts: - mountPath: /tmp name: edge-sock volumes: - name: edge-sock hostPath: path: /tmp -
Deploy the Pod:
kubectl create -f pt-example-pod.yaml -
View the Pod status:
kubectl describe pod pt-example -
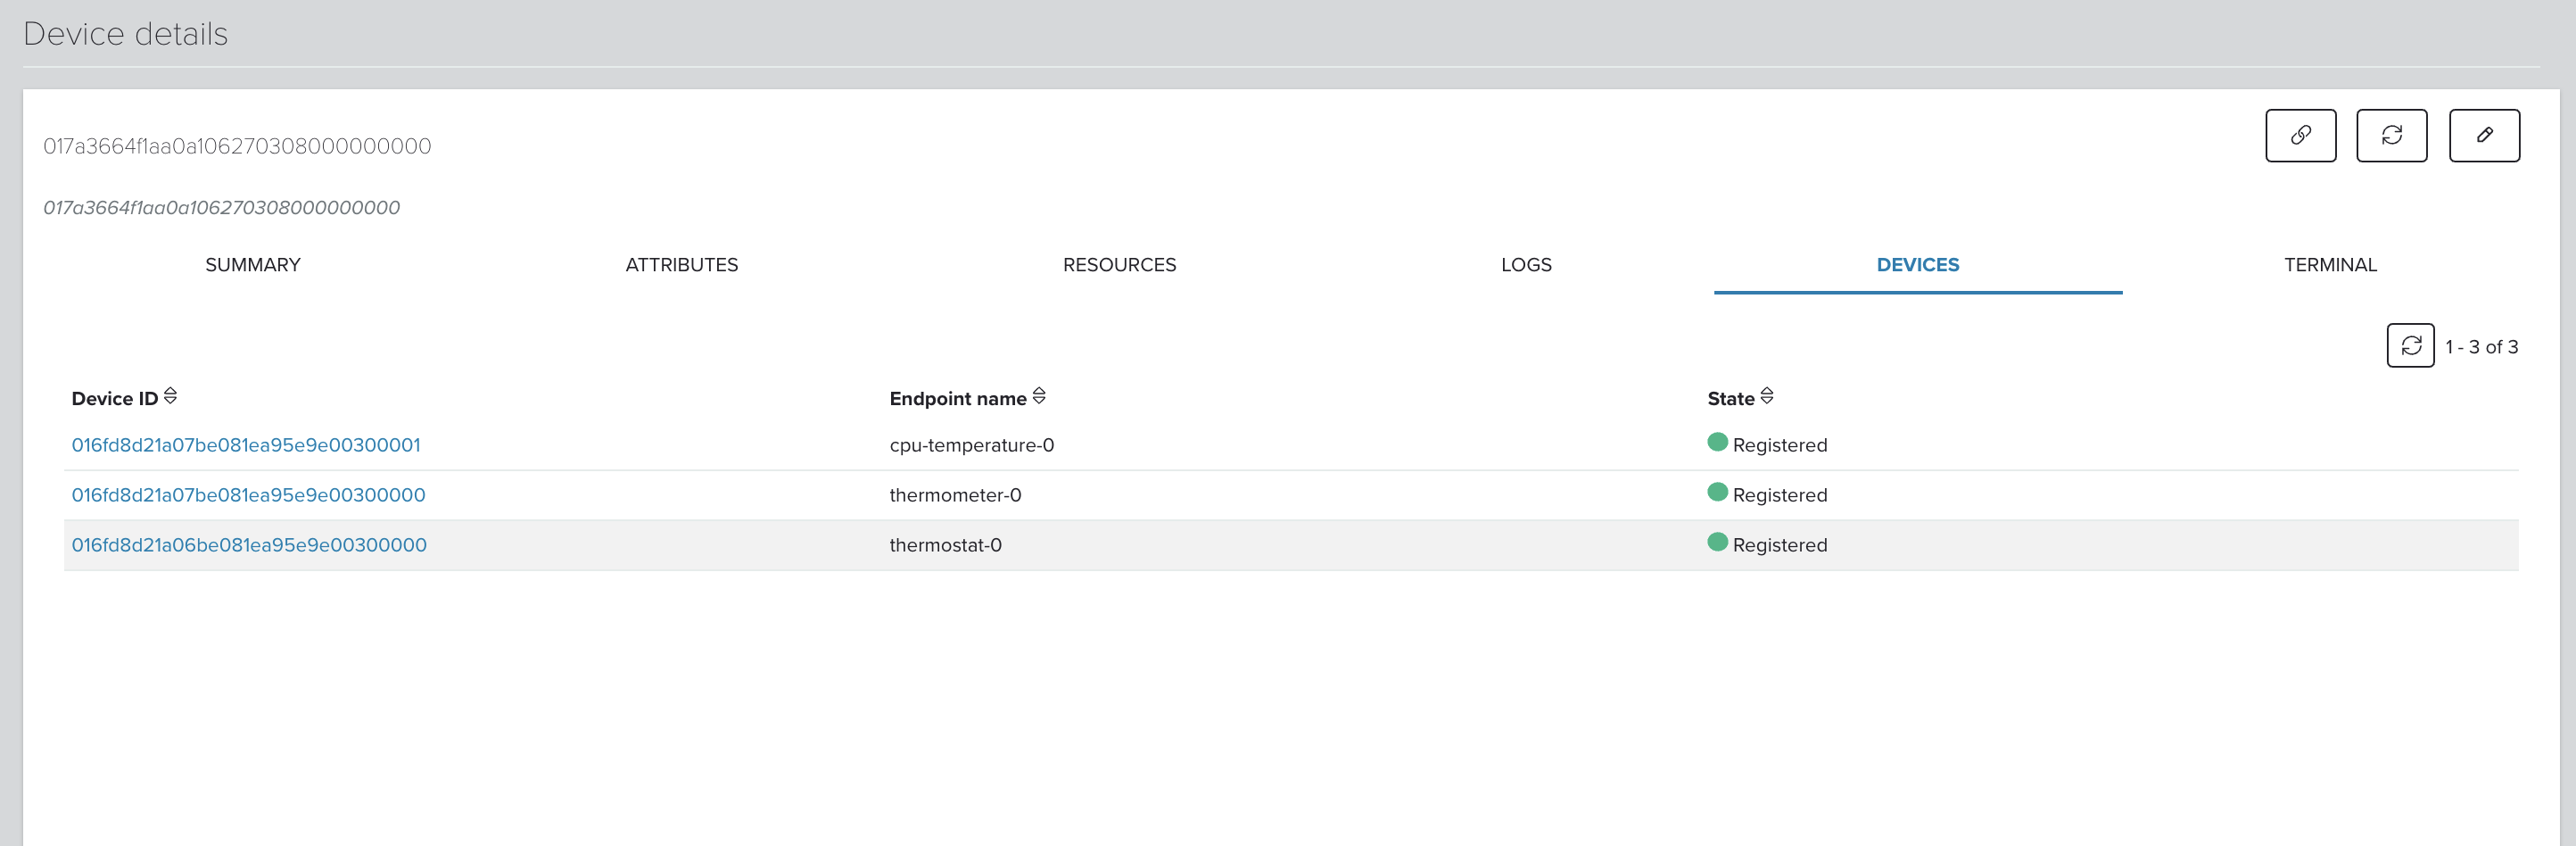
View the devices which are connected and managed by gateway in the Devices tab of the Device details page:
-
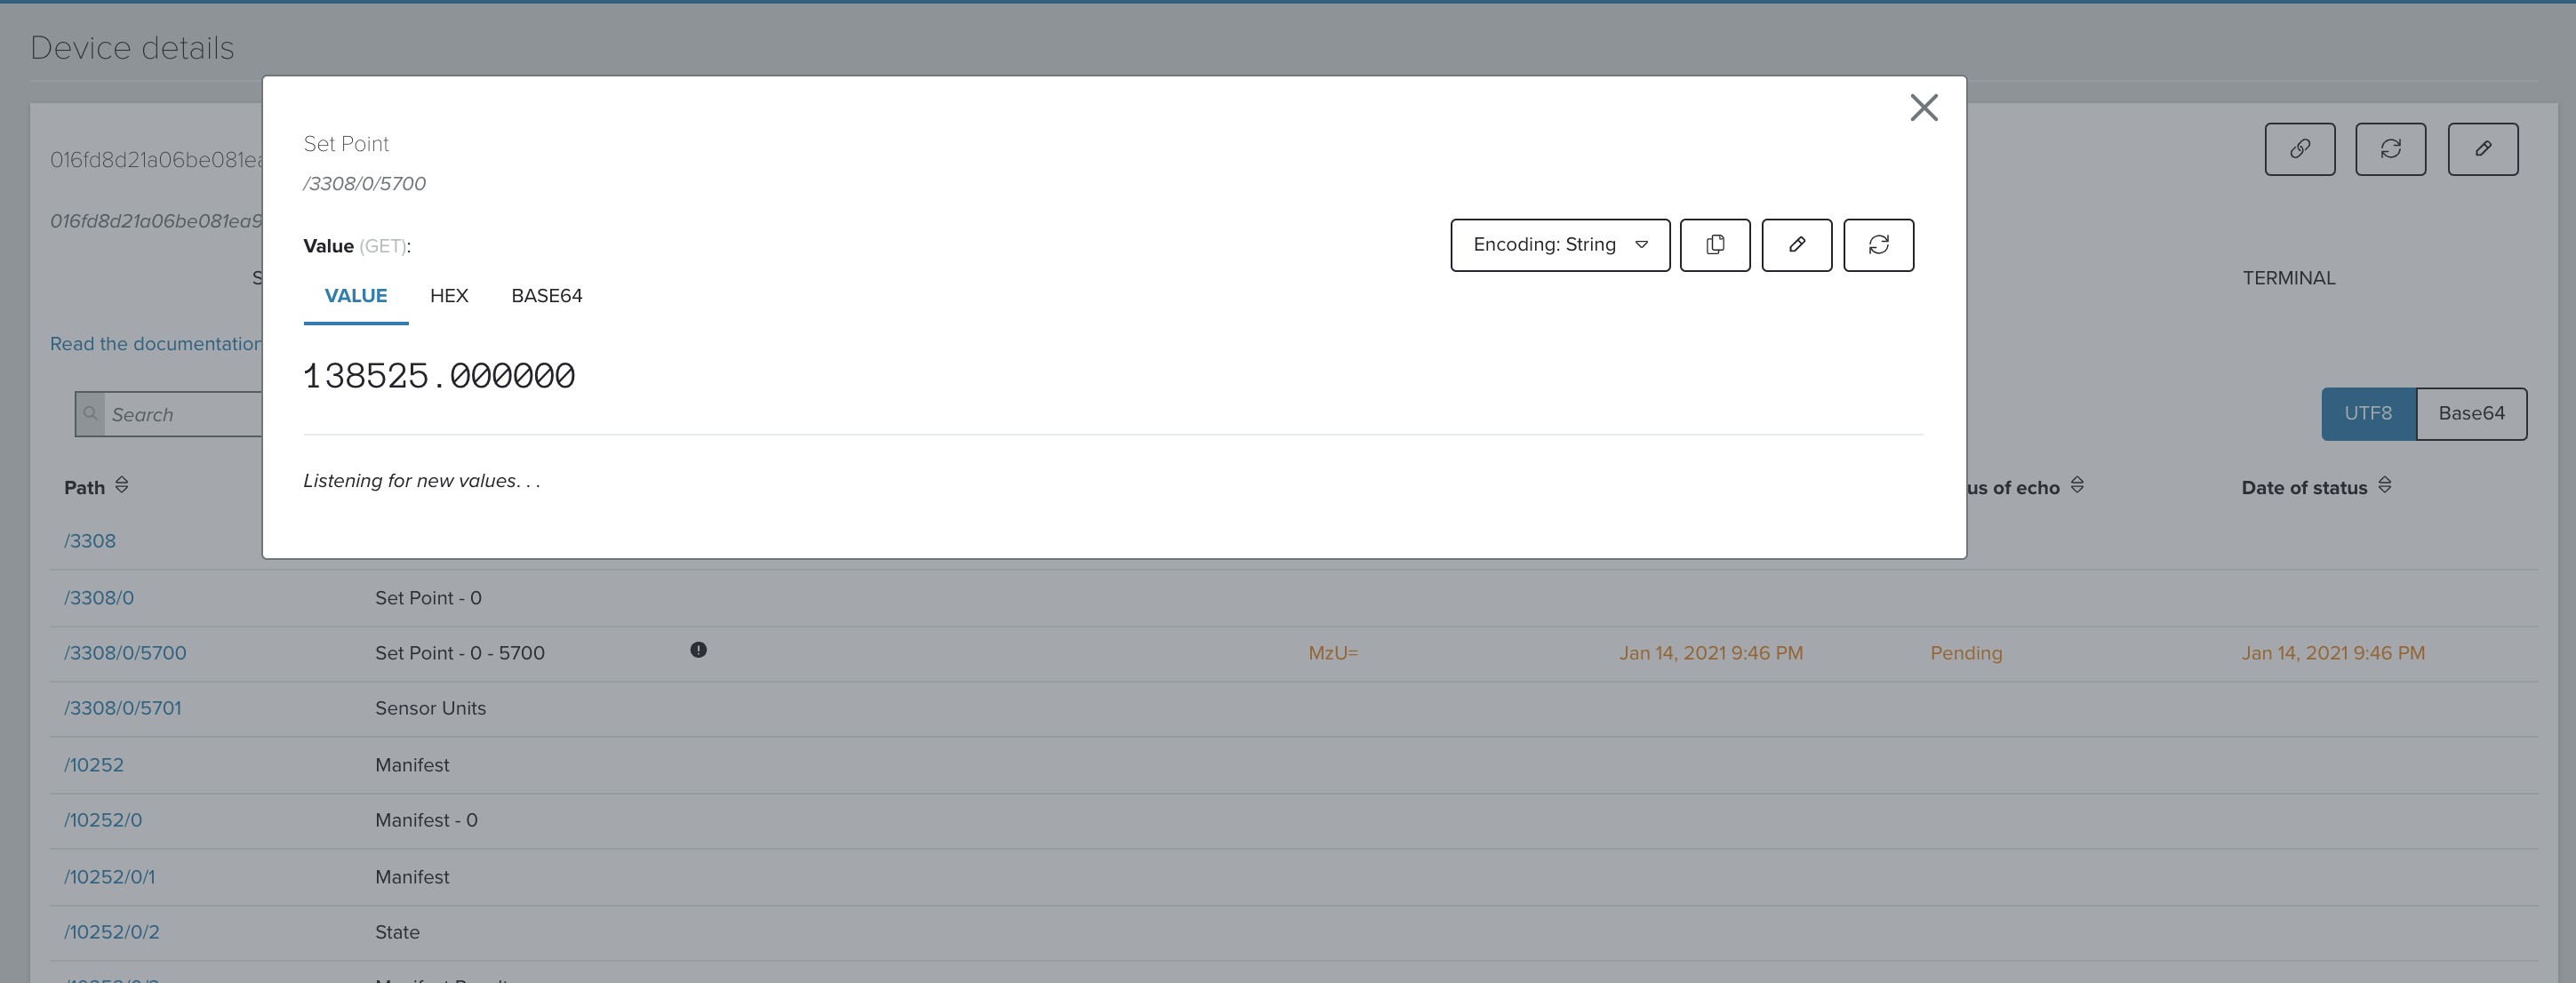
View the state of the virtual thermostat device:
- Go to Resources page of
thermostat-0device. - View the sensor value
/3308/0/5700

- Go to Resources page of
-
Control this virtual thermostat device from another container application running on the gateway. Using the terminal in Izuma Device Management Portal, run:
mkdir -p /work/edge
cd /work/edge
git clone https://github.com/PelionIoT/mbed-edge-examples
cd mbed-edge-examples
docker run -it --entrypoint=/bin/sh -v /tmp:/tmp -v `pwd`/simple-js-examples:/app node:12.22.1-alpine3.12
For example, this enables you to build machine learning application which can run locally, learn the behavior of the IoT endpoints, filter the data, and take critical decisions in offline or remote deployments. You can learn more about the local management APIs from the protocol translation documentation.
-
Run these commands one by one in the shell:
# install the program deps npm install app/ # run node app/simple-mgmt-example.js # connects to the local server connect() # lists all the endpoints which are connected to the gateway devices() # Read the resource value readResource("thermostat-0", "/3308/0/5700") # Write the resource value and see the value being reflected in the portal writeResource("thermostat-0", "/3308/0/5700", "QEcHSP//kFU=") -
Hit the refresh button on the resource page to see the change in value.
Gateway system management
-
Remotely shell into the gateway directly from the Izuma Device Management Portal or using your own web application:
- In the Portal, click on your gateway deviceID in the Devices tab.
- Go to Device details.
- Click the Terminal tab to view the gateway shell.
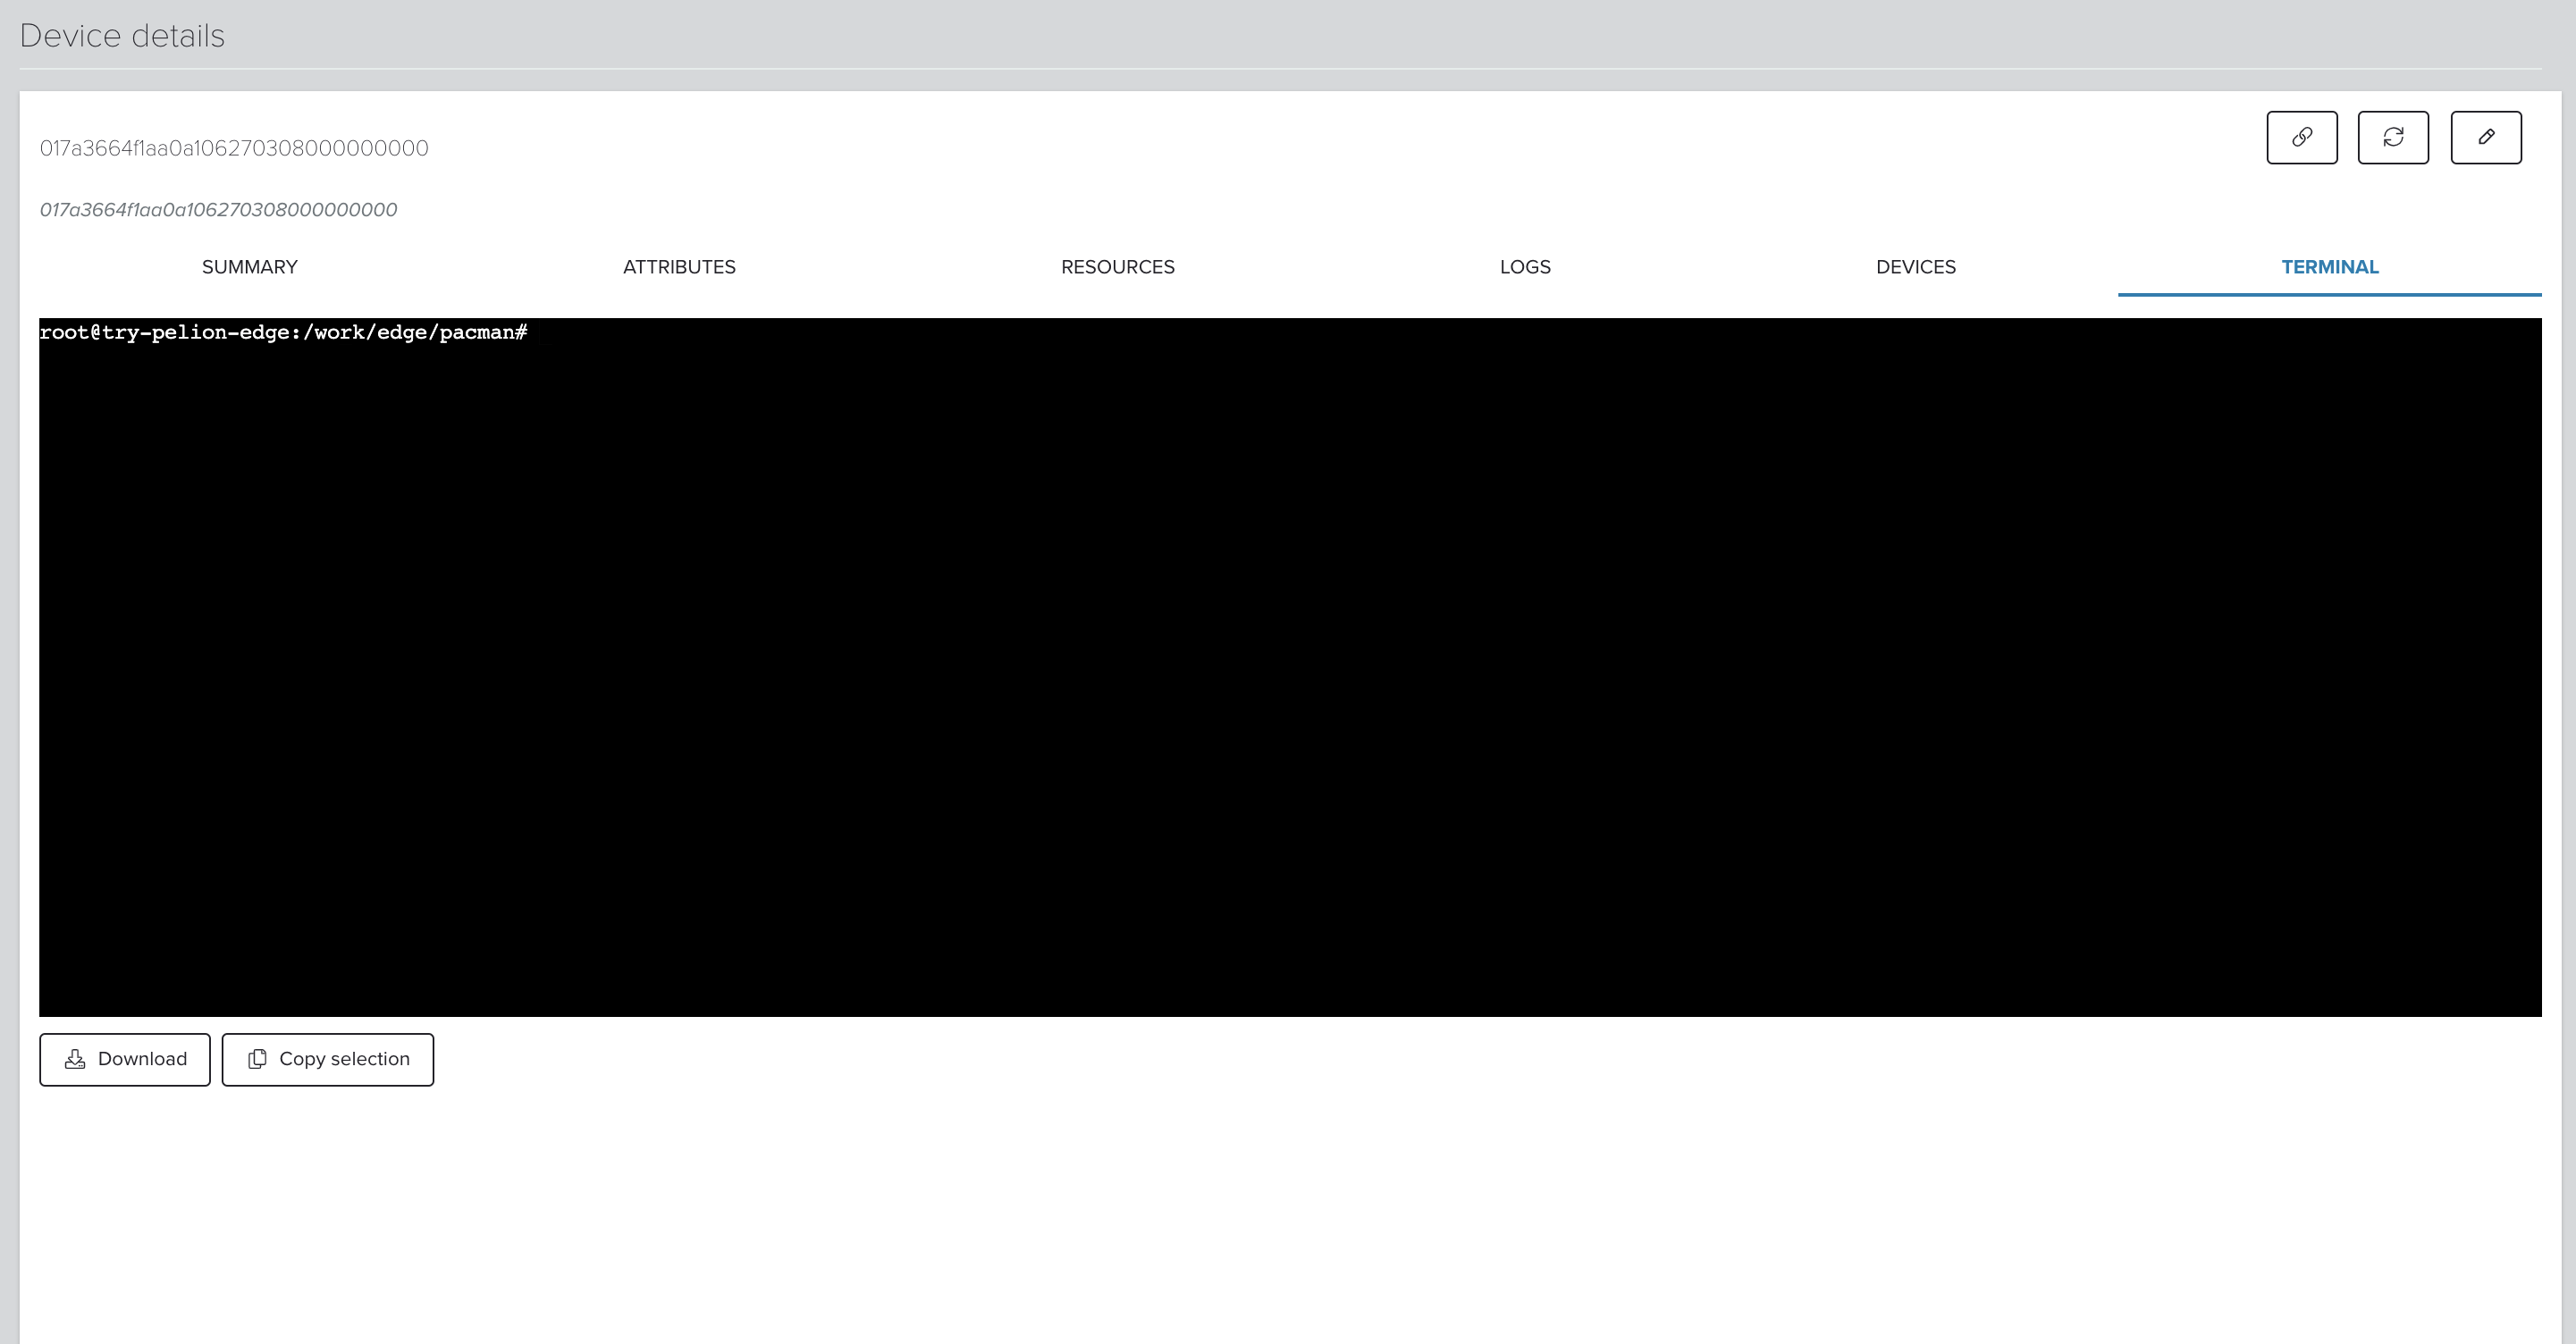
To learn more about this feature, see the gateway terminal service documentation.
-
Remotely view the logs of the services running on the gateway:
- In the Portal, click on the gateway deviceID in the Devices tab.
- Go to the Device details page.
- Click on the Logs tab.
- Click on Gateway log.
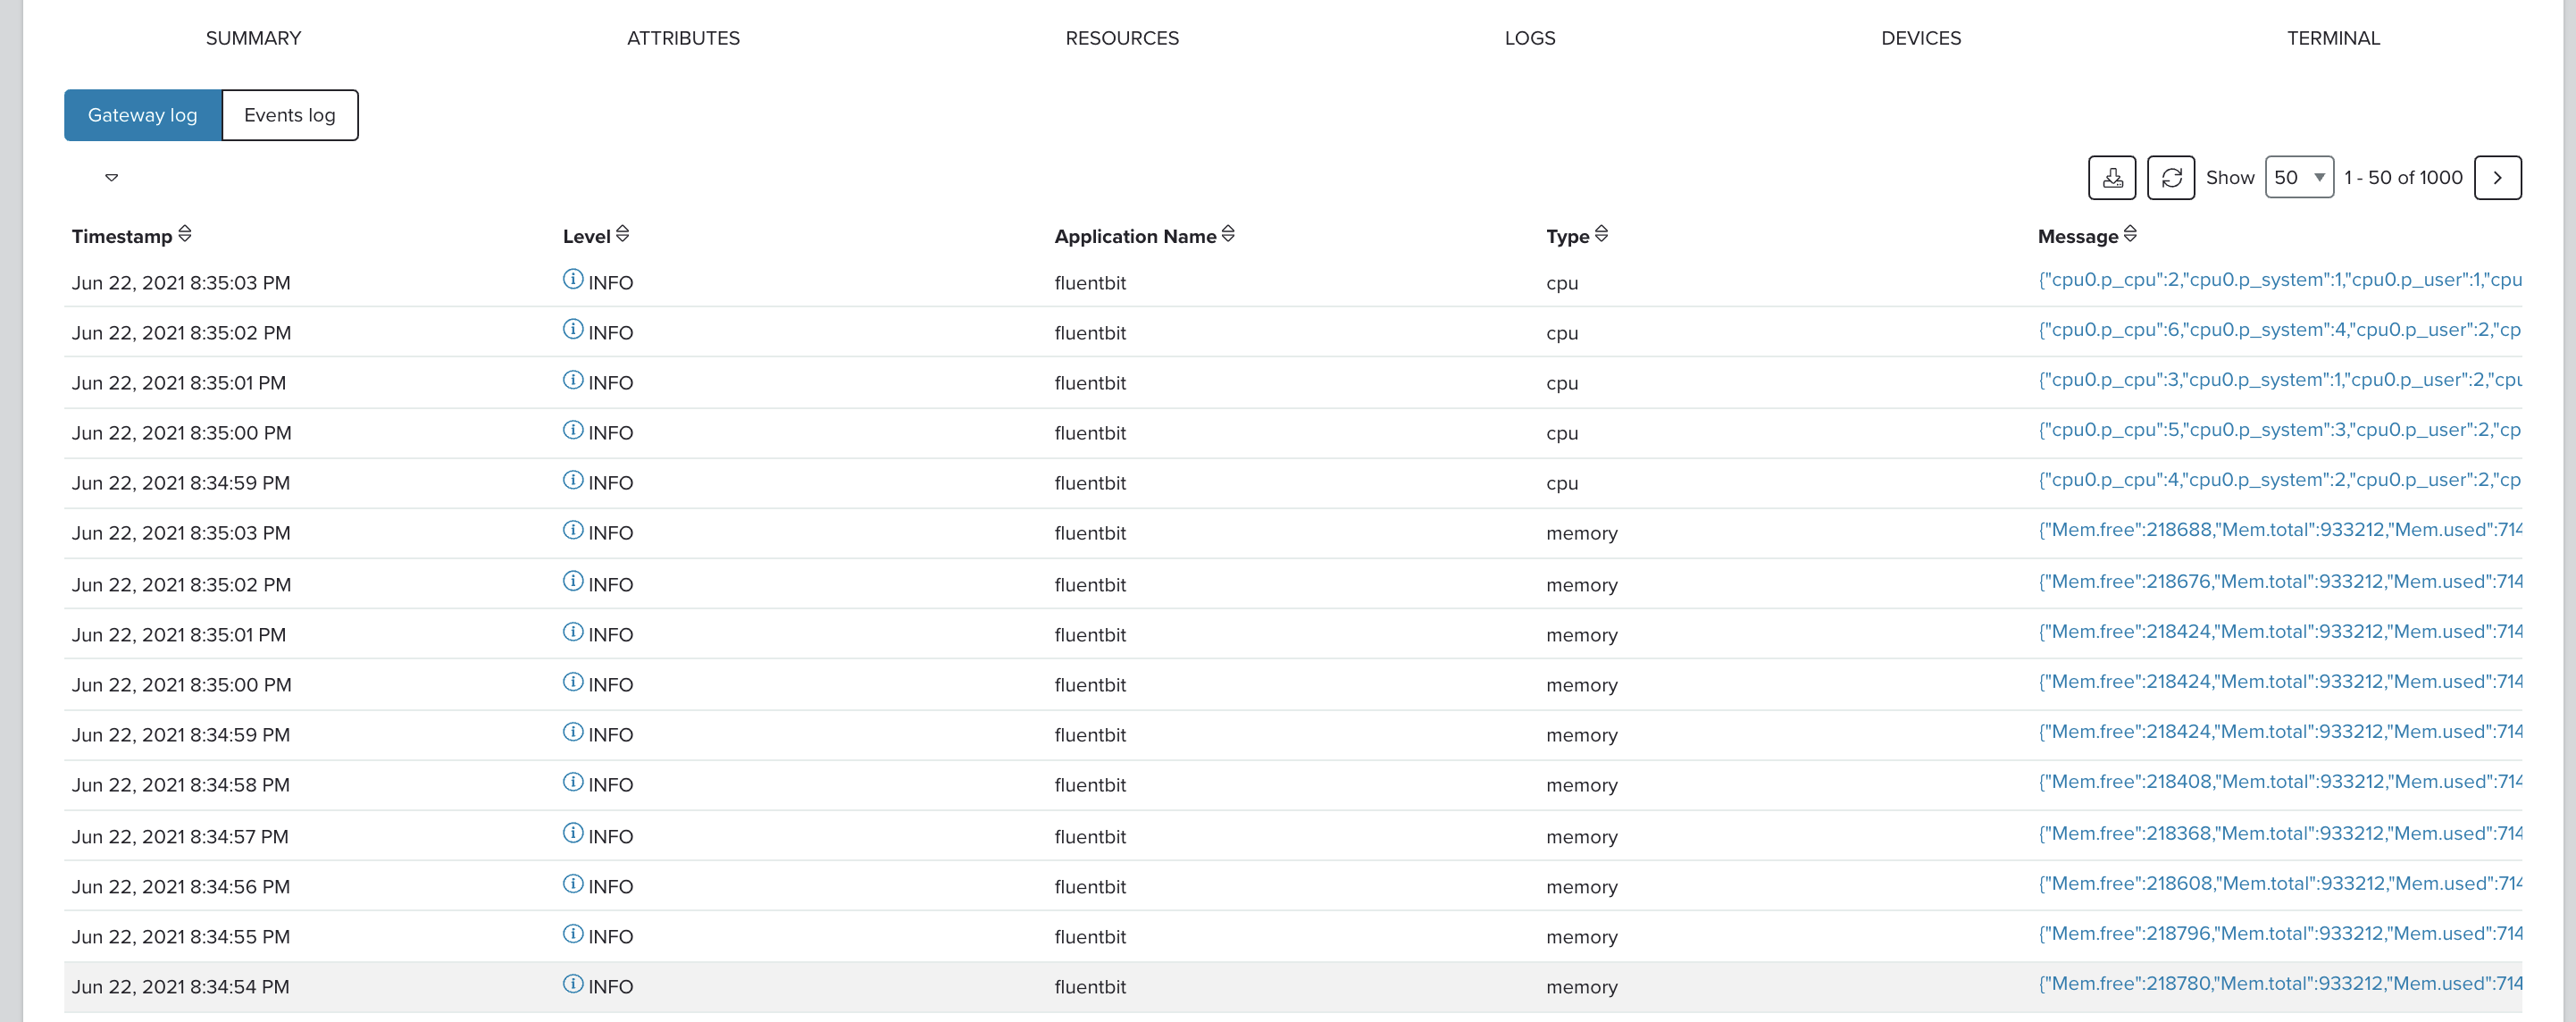
To learn more about this feature, see the logs documentation.
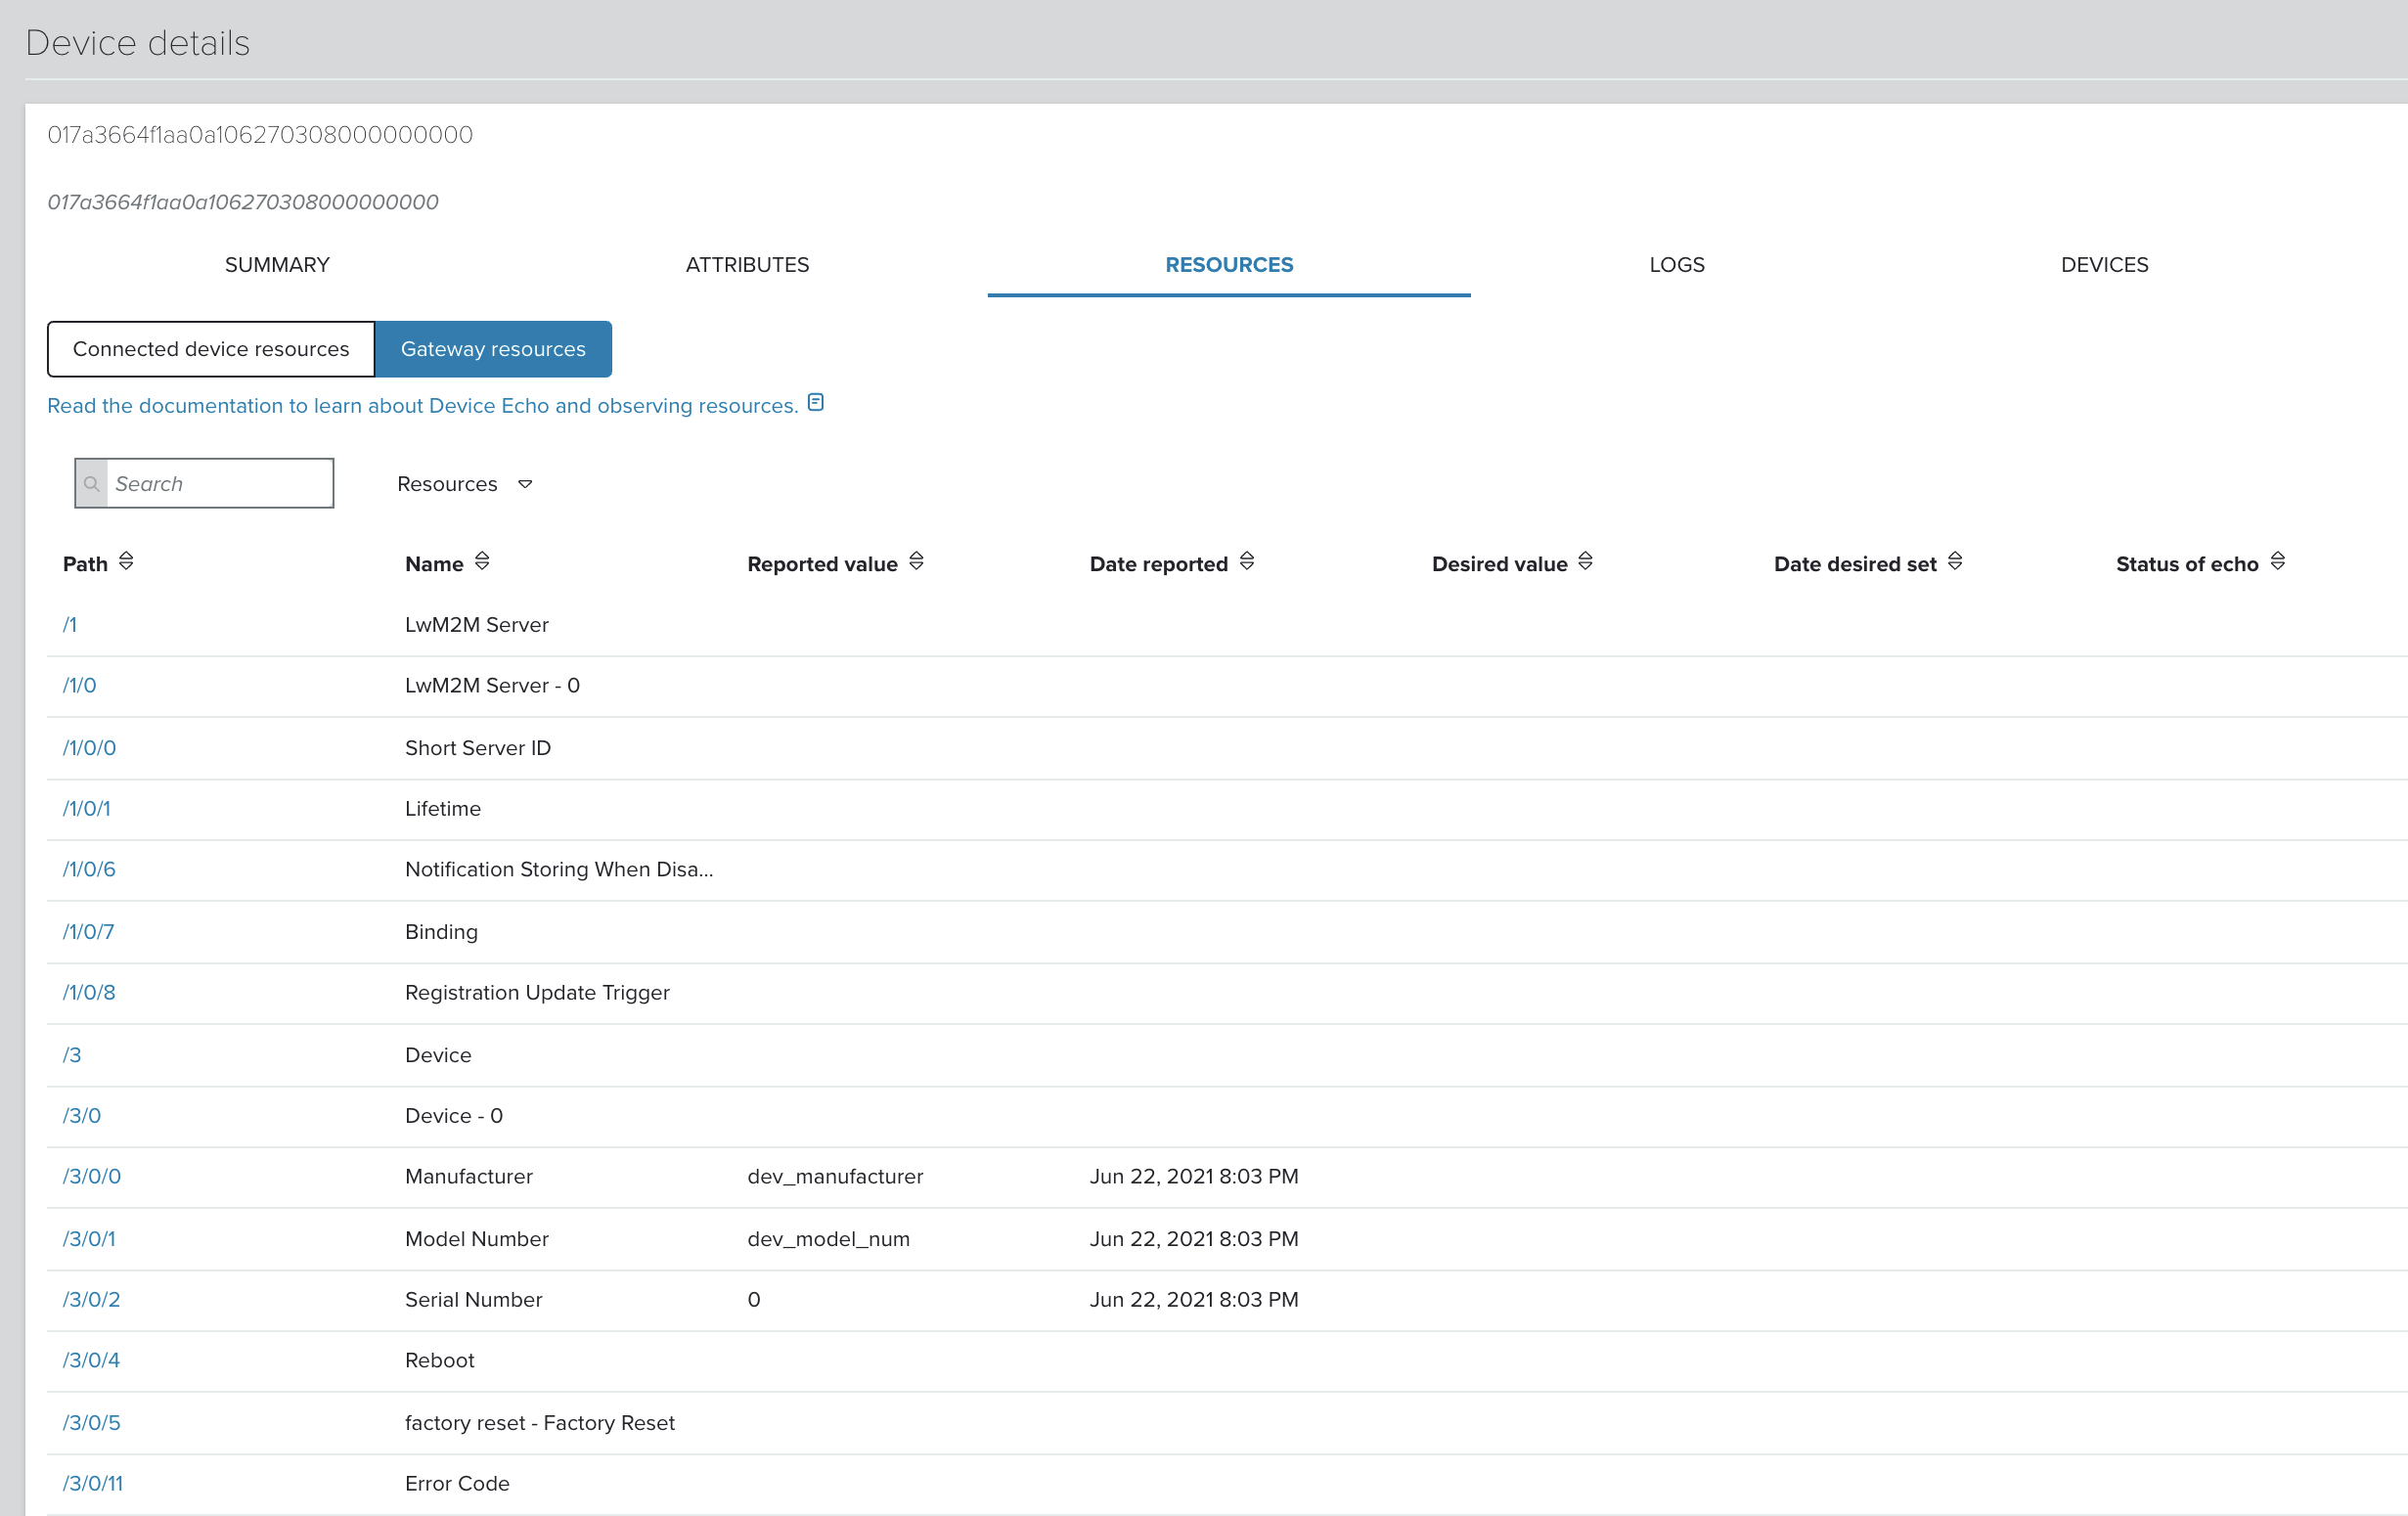
-
Remotely reboot the gateway:
- In the Portal, click on the gateway deviceID in the Devices tab.
- Go to the Device details page.
- Click on the Resources tab.
- To reboot the machine, click on resource - /3/0/4 → Edit → POST → 0
You can also factory reset the gateway or renew the device certificate.